Donate To Our Adoption (Every dollar donated up to $10,000 will be matched - funded by Legacy 685)

Search This Blog

Showing posts with label simply redone. Show all posts

Tuesday, October 2, 2012

Shutters turned Head Board

These fabulous shutters were hidden the back corner of an antique store behind some other furniture. We got them uncovered and got to look at them and fell in love! They were exactly what I had been looking for for a headboard for our bed! 
Because the paint was chipping off and very weathered, I wanted to seal them somehow without losing the look that I loved! After a little research, we decided on this Rust-olium spray. We did two coats and it really sealed the paint off, it has not really chipped at all since we hung them several months ago! 
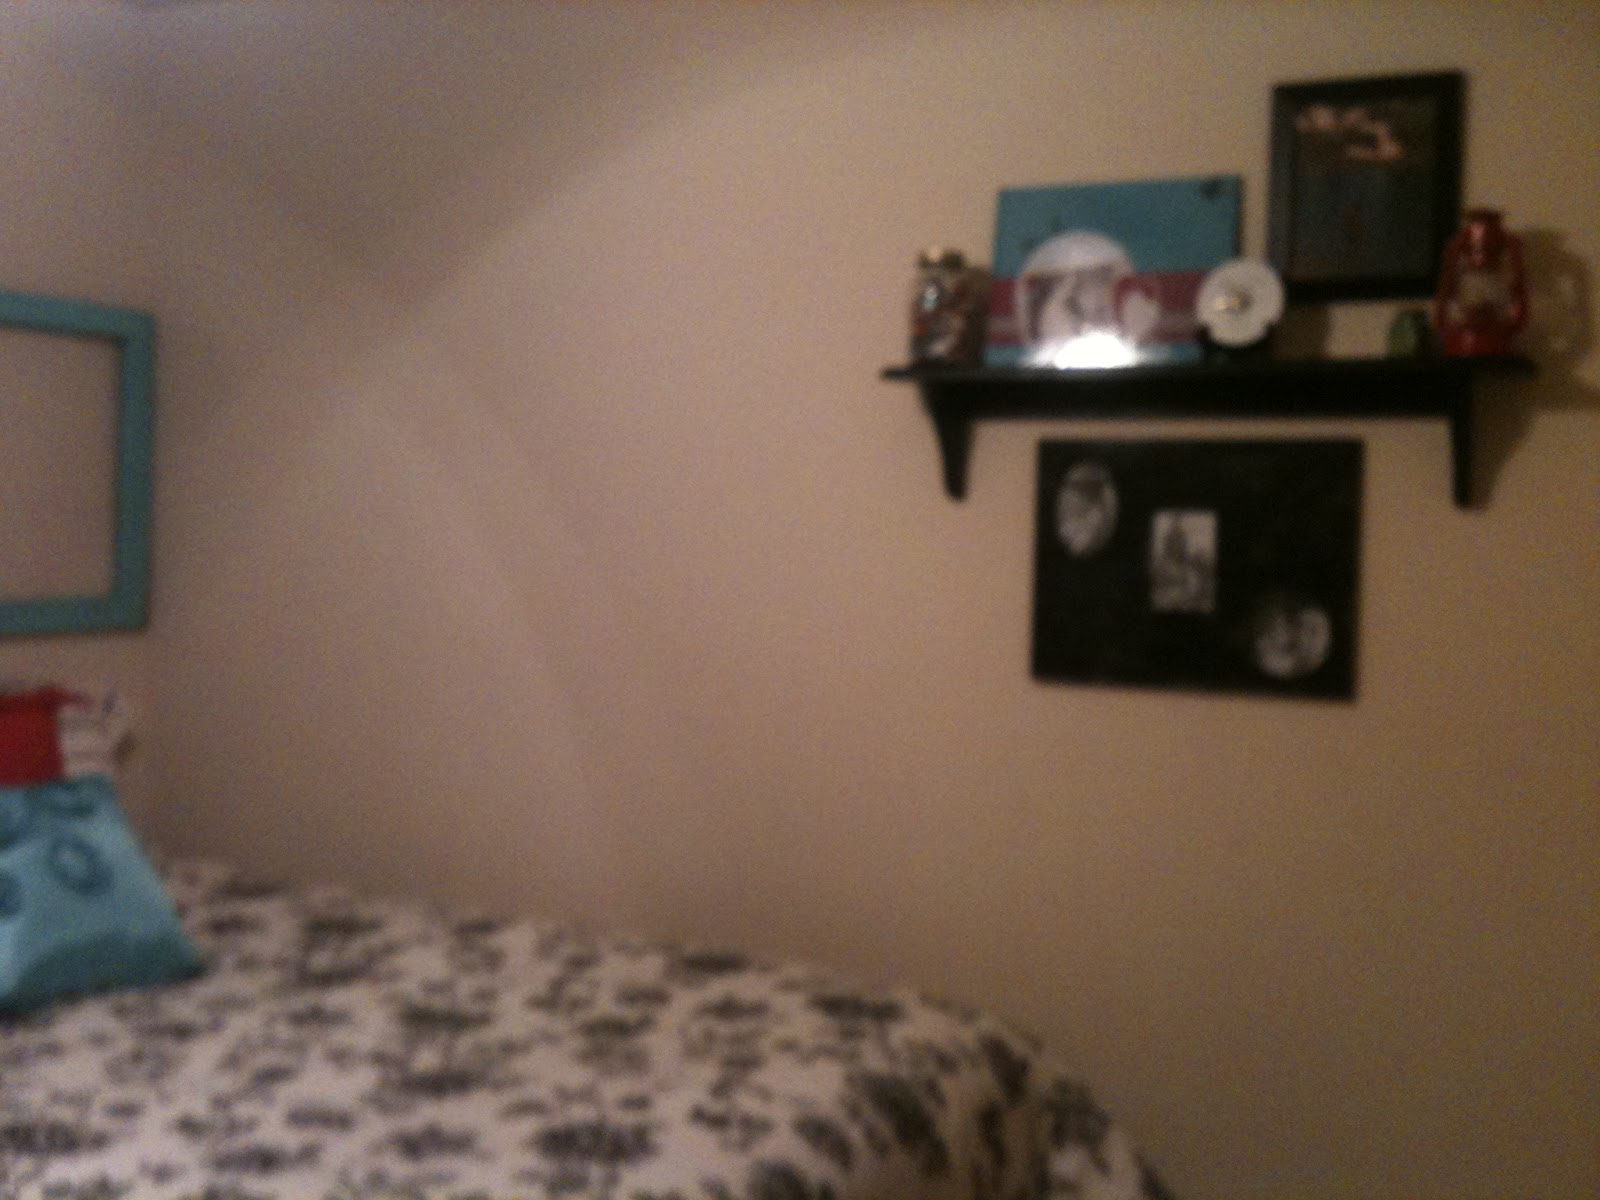
This was before! (After seeing this old post, I see how even this was a HUGE improvement-I had forgotten how bland it was before we painted)
J figured out where the studs on the wall were and drilled some 1x2's on the back to align with the studs!

We got them both hung!
And I love the final outcome!!! We ordered some new pillow cases with some Anthropologie gift cards we had left over from the wedding and our bed was finally complete! 

Tuesday, September 18, 2012

guest room

All of our family lives out of town, so we have guests often, but this just wasn't cutting it:

We added some color and got rid of the brown tapestry curtain::
This window is a fun place to write 'welcome' to whoever is staying with us, using dry erase! Ive had a lot of fun with that! 
This pic is super blurry, but you can see how just adding a shelf (from a garage sale - $1.00 & spray painted black), and a few other things to the wall really made a difference.

Now this room is becoming a nursery and we are turning our office into a guest bedroom! I am so excited for our nursery and cannot wait to see it all come together! 

COLOR IN THE KITCHEN

Once these two projects were done (bar, cabinets), I was again ready for another! Ready to get some color on the walls! But I had a really hard time deciding on what color. After MULTIPLE samples, we finally decided on a good neutral color that complimented the dining room well, was simple, and looked really pretty with the cabinets!

The thing we learned in the long search for color was to think outside the box. I knew I wanted something in the green family (to compliment the color of the dining room) but after a long day of frustrating samples realized that was not working. We started looking in the grey/brown family and finally found Clay Pebble by Behr - a very earthy color with just a slight green undertone. It wound up being the perfect color - FINALLY!!!

Just a small example of the amount of samples we tried - eeks! 
Before


During
And after 


Because of the lighting in the kitchen, it is hard to get a good picture, but you get the idea! 
Adding color always makes things feel a lot more cozy and more like home! 
and because I cannot just stop after one project, next will be making curtains for that window :)


trashcan find

I was hanging out at the park one day with a sweet friend of mine and I saw this:
She laughed when I said I was going to dig it out, but I loved the wood and saw some potential! 
I got it home and let it sit in the sun for several weeks - just to let the sun do any sanitizing that might be needed! Then with the help of my sweet husband we got the 'signs' off and in about 5 minutes I had them painted with some sample paints we had! 


One was a gift for my sister for her engagement party, one for our laundry 'room' and one for us! 

{Fun. Simple. & Free}

Tuesday, July 24, 2012

Book Shelf

New item!! I love this book shelf! Has tons of room for display and great storage! Lots of character and beautiful!!! 
72" tall
19" deep
30" wide

Book Shelf
85.00 SOLD


Friday, July 6, 2012

a simple can of paint

A simple can of paint can do wonders to a room:: here was our guest bathroom before: 
{plus a few paint samples on the wall}

 All of the decorations I had in there were just things that I had when we first moved in! I was ready for a small make over in that department too! 

And the after....ahhhh COLOR.... so much better!!! 


We used a high gloss paint in here. I normally dont like gloss, but thought it would look nice and be a fun change for the bathroom! 
I used some other things I had to decorate with for now...soon there will be a lot of baby stuff in the bathroom I am guessing :)


Thursday, July 5, 2012

Small and simple


  I bought these beauties for 1.00 Each knowing they had potential! 

I kept the matting, but got rid of the lovely stitch work and painted the frames grey! I had some post cards from when I traveled in London and had never known exactly where to put them, but they fit perfectly and the colors were exactly what we needed to finish off the bathroom! 


The lamp adds soft light which I love! My mother-in-law had given us the lamp and we bought shade at Wal-Mart! 

bathroom make over in an evening

Our bathroom has felt kinda boring since we moved in. I wanted it to be peaceful and after putting about 5 samples on the walls for color, I decided to keep the walls the color they were originally! Our bedroom is full of color and finding something to compliment it without going over board just wasn't working! I did however, want to tie in those same colors! {teal, grey, yellow, and white}

It all started all started with a stop by an estate sale on the way home from work one Friday afternoon, where I picked up a few stitch work pieces, a vase, a small metal box and lots of craft paints - all for under $4.00 - I began planning and by the time John got home, I was ready to take on the bathroom! 
We had picked up 2 pallets off the road a few weeks before and I decided that between my estate sale finds and those pallets we could have us a bathroom in an evening! 

Before
After
{How to::Shelf}

Before
 After
{How to: Bless the Lord painting}


Before
 After
{Making the frames:: Small and Simple}


 the projects can be found below::


Bless the Lord painting


Shelf


Frames

And that was it - we were done! It was a fun evening with my sweet husband and we have really enjoyed the way it turned out! 


Wednesday, July 4, 2012

'better than love'

The inspiration for this project.....

♥ Dancing to 'Better than Love' by Griffin House, for our first dance! ♥ 
This painted canvas came from Good Will for less than a dollar!  
 At the time, our bedroom walls were still empty and I was ready to add some life to them!!! I tend to be a very sentimental person so I wanted the things on our walls to have meaning or a good story! 

I took contact paper, which I had, and traced letters onto it and carefully cut them out using an exacto knife! 
Spaced it out using a ruler and then stuck the letters to the canvas! 
I then painted the whole thing with a grey sample I had from another project! 
 When it was all dry - I peeled off the letters and had this beauty! 
Pictures of the walls coming soon!!! 


And a few more pics just because...loved this special moment
Our gorgeous wedding pictures were taken by a dear life-long friend of mine, Lissa Anglin!